WSL: Development on Windows
Table of Contents
Windows development - This article is part of a series.
Overview #
In this series I want to show you my current Linux development environment on Windows. While I use this environment for nearly everything, I will focus on the Terminal here. In later articles, I will describe how to use IntelliJ and other features that interoperate with Windows.
As Shell of choice, I use ZSH with some plugins and additional tools, as it enables autocompletion, nice history searches, good shell visualizations and many more.
As my work environments are mainly Windows systems, I had to come up with solution that allows me to use this shell on Windows.
Thanks to Microsofts latest invest in that area, it is now possible to have a fully blown Linux environment with nearly no limitations regarding the Terminal.
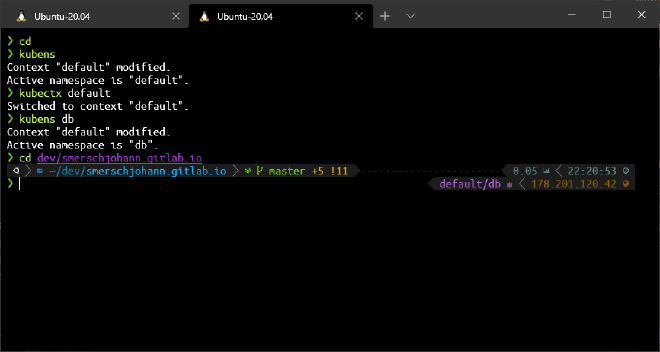
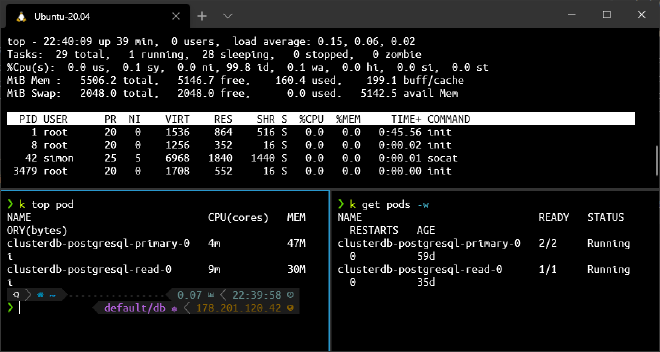
As shown above, the Windows Terminal allows to have multiple tabs, it also allows to split the pane which is a very nice feature. Using that you don’t need additional tools like tmux or others.
WSL Installation #
You can follow the Microsoft documentation for installation, the steps are clearly documented. The installation is divided in activation of the WSL engine and the WSL distribution
Basically the following steps are required:
- Enable the Windows Feature
dism.exe /online /enable-feature /featurename:Microsoft-Windows-Subsystem-Linux /all /norestart
- active the feature for WSL 2
dism.exe /online /enable-feature /featurename:VirtualMachinePlatform /all /norestart
- Reboot your system
- Update the linux kernel using this msi package
- Set WSL2 as default environment, this results in the next distribution installation to be either WSL1 or WSL2:
wsl --set-default-version 2
- Install a Distribution. For a custom solution with the possibility to share your home directory, have a look at my other post:
Alternatively, you can install Ubuntu 20.04 LTS either by the Microsoft Store or by manual download.
If you made a mistake and want to choose a new directory,
you can unregister the distribution by wsl --unregister <DISTRO-NAME>. You can get the registered name by wsl -l
- Set a username and password for your distribution and remember your password, as you need that for the
sudocommand.
Windows Terminal #
I recommend the use of the Windows Terminal in combination with the WSL, as it has full font support, has tabs and pane support, is hugely customizable and looks great.
You can install the Windows Terminal either using the Microsoft Store or by downloading the latest installer from the Github page. On Windows 11 it comes preinstalled.
After installation, you have already a working terminal, to further improve it you can customize it.
Fonts #
My ZSH uses special icons and characters that are not supported in the default font used by the terminal. To have the best experience, you have to install a font that supports those additional symbols.
One source of such fonts is Nerdfonts, I use the UbuntoMono NF font in my terminal. After installation of the Ubuntu Mono Nerd Font Complete Windows Compatible.ttf font, you have to activate it in the terminal by configuring it accordingly.
Either add fontFace to a specific profile or add it to the defaults like this:
    "profiles":
    {
        "defaults":
        {
            "fontFace": "UbuntuMono NF"
        },
Scheme #
In addition to the font, I also use another scheme, as I don’t like the dark red color on black background. You can choose between a ton of different schemes on windowsterminalthemes.dev.
I use a slightly modified version of VibrantInk. Add the theme to the schemes array, just between the brackets.
        {
            // Color Scheme: VibrantInk
            "background" : "#000000",
            "black" : "#878787",
            "blue" : "#44B4CC",
            "brightBlack" : "#555555",
            "brightBlue" : "#0000FF",
            "brightCyan" : "#19D1D8",
            "brightGreen" : "#81EC0D",
            "brightPurple" : "#FF00FF",
            "brightRed" : "#FF6600",
            "brightWhite" : "#E5E5E5",
            "brightYellow" : "#FFD93D",
            "cyan" : "#19D1D8",
            "foreground" : "#FFFFFF",
            "green" : "#CCFF04",
            "name" : "VibrantInk",
            "purple" : "#9933CC",
            "red" : "#FF9900",
            "white" : "#F5F5F5",
            "yellow" : "#FFD93D"
        }
To activate it in a profile, you have to add it by using colorScheme
{
    "name": "Ubuntu-20.04",
    [..]
    "colorScheme": "VibrantInk"
}
Starting directory #
By default, the WSL starts in your Windows home directory. As this is not your home directory in the WSL, I would change it to exactly that by using the startingDirectory directive. This directory must be specified using the UCI path. Note that you can test it by using the Windows Explorer:
{
  "name": "Ubuntu-20.04",
  "source": "Windows.Terminal.Wsl",
  [..]
  "startingDirectory": "//wsl$/Ubuntu-20.04/home/simon/",
}